As the snow flies around most of the country, it gives us a chance to look back at last season and decide what good and bad things happened. It also gives us a chance to look forward and decide if any equipment needs to be replaced or if just some maintenance is needed.
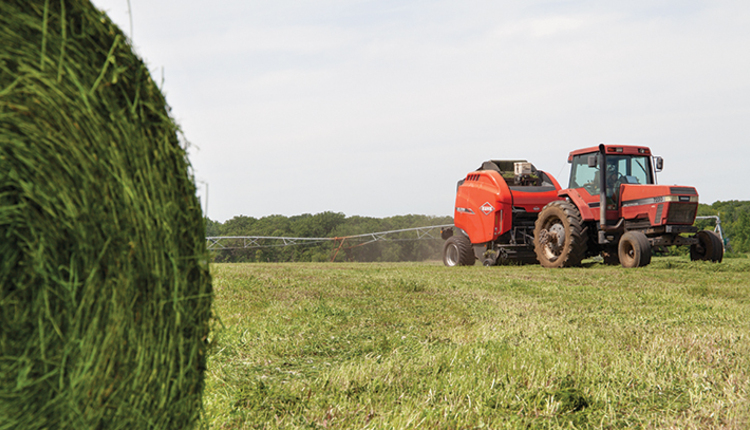
For many forage producers, the round baler is the most expensive piece of equipment that is owned outside of the tractors. The ever-increasing expense of purchasing a new baler makes “trading up” harder each year, which results in having to run a baler longer between each purchase cycle.
The time is now to tear down your baler and give it a winter inspection. Sure, dealerships run winter specials, too, but by doing some of the work yourself, you will better understand how the baler operates. It is a lot easier to learn how the net wrapping mechanism works while in your shop than on a 100-degree day with fire ants crawling up your leg.
Start at the front
One thing to be sure to inspect is the power takeoff (PTO) shaft. Most have constant velocity (CV) joints on the tractor side, and when the cross starts to get some wear, the shaft wobble can lead to issues not only with the shaft itself but also for the tractor’s PTO. You might notice wear on the shaft or even a seal leaking on the tractor’s PTO.
Next, move back to the main gearbox. In most cases it is a T gearbox. We always recommend changing this gearbox oil every few years or 5,000 bales. Sometimes, these gearboxes sit at odd angles, so make sure it is at the proper level when checking and filling them with gear oil. If your baler has a T gearbox, then you should remove the shields on the driveline to inspect the gearbox seals, and this allows you to get a good look at the bearings on each side of the baler.
Bearings can sometimes be tricky; be sure you check that each one is taking grease and that there is no play or “slop” in the bearing. Some bearings are difficult to see behind the sprockets. You can use a pry bar and try to force the bearing to move up or side-to-side. If you find any play, replace the bearing.
Attached to the same shaft are the drive sprockets. These should have even wear on both sides of each tooth and not much wear on the point. Once the sprocket starts to show wear on the point of the tooth, it is likely that even a new chain will not seat down in the bottom of the sprocket notches.
As for the chains, first loosen the tension sprocket and see if the chain has any side-to-side play. A good chain should be stiff when turned on its side. If it curves or moves freely, it needs to be replaced.
The hay pickup mechanism is often overlooked except for the occasional tine replacement. However, this is really where most problems can start. Inconsistent feeding can lead to lopsided bales and clogged balers. There are a few manufacturers on the market that offer camless pickups. These have fewer parts to worry about. Most camless pickups just have one bearing and one sprocket on each end.
The more common cam-track style pickup has bearings on each end of each row of tines. These bearings run in a “cam track,” causing the tines to fold out of the way. It is extremely important to check these bearings each season and, for high bale volumes, twice each year. I also recommend replacing the pickup chain about every 5,000 bales. This chain usually is the smallest one on the baler, but it will give you the most issues.
Know the tying system
The most common area for a daily issue is with the net-wrapping system or the twine-tie system on older balers. It is important for the baler operator to really understand all the steps involved in your baler’s tying system. You should be able to activate the tying cycle from your monitor and watch the complete sequence, which allows you to identify where problems might occur. Having this area clean is also at the top of my list of daily maintenance tips. Manually operate the tying cycle a few times so you are familiar with the sequence and to see if there are any worn components.
Moving to the baling chamber, first relieve the hydraulic pressure off the belts to be able to check for bearing play. Go around to each bearing and pry on it to see if there is any movement. Roll them around to see if you hear any grinding and, if greaseable, make sure all the bearings are taking grease. While at the rear of the baler, jack up the axle and grease or repack the wheel bearings as well. They tend to often get overlooked.
There is not a much better feeling than pulling out of your first field next spring after rolling up bales without a mechanical breakdown. Along with it will be the satisfaction that your winter service time was well worth the effort!
This article appeared in the January 2021 issue of Hay & Forage Grower on page 24.
Not a subscriber? Click to get the print magazine